Step 3 - Send for Review
For information on how to access this area, See Committee Review Overview
Step 1: See Generate Packet
Step 2: See Generate Appointment Summary
Step 3: Send for Review
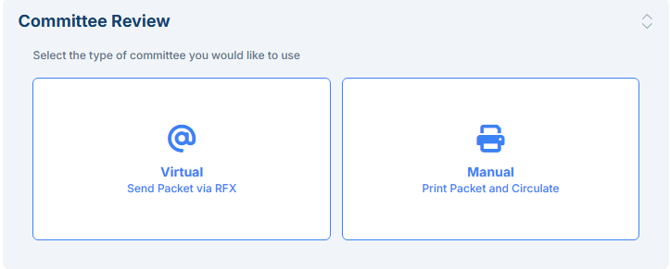
- Select the type of committee: Virtual (via RFX) or Manual (print packet and capture signatures).

Virtual through RFX:
- Select the committee to send the packet to.
-
- Committees can be created and modified as needed.

-
- Committee members can be added, edited, or deleted.
-
- Additional committees can be added to the approval process.

- Click Send for Approval.
Committee members will receive an email with a request for approval. They can click Review Provider![]() to complete the process. No account creation is needed.
to complete the process. No account creation is needed.

Once in the portal, committee members will click Committee Requests on the right and then the Committee Approval blue text to view the Appointment Summary and checklist documents.
Must Know! The system requires committee members to scroll through the entire document before making a recommendation.

Committee members can either:
- Not Recommend (requiring a reason).
- Recommend (with or without restrictions; if with restrictions, they must specify them).
Moving Directly to Final Board Approval without Committee Votes
To bypass Committee Votes and move straight to Committee Approval, click the Move to Approval Signatures button![]() .
.
A dialog box will appear showing the current committee statuses and will include an explanation box that you must fill out before proceeding.

Step 4: See Obtain Approval Signatures
Step 5: See Finalize Privileging
